Установка SquirrelMail
Чтобы установить клиент SquirrelMail веб-почты:
|
Мы должны ответить SquirrelMail, что мы используем Dovecot:
SquirrelMail Configuration : Read: config.php (1.4.0)
---------------------------------------------------------
Main Menu --
1.  Organization Preferences
2.  Server Settings
3.  Folder Defaults
4.  General Options
5.  Themes
6.  Address Books
7.  Message of the Day (MOTD)
8.  Plugins
9.  Database
10. Languages

D.  Set pre-defined settings for specific IMAP servers

C   Turn color off
S   Save data
Q   Quit

Command >> - D


SquirrelMail Configuration : Read: config.php
---------------------------------------------------------
While we have been building SquirrelMail, we have discovered some
preferences that work better with some servers that don't work so
well with others.  If you select your IMAP server, this option will
set some pre-defined settings for that server.

Please note that you will still need to go through and make sure
everything is correct.  This does not change everything.  There are
only a few settings that this will change.

Please select your IMAP server:
    bincimap    = Binc IMAP server
    courier     = Courier IMAP server
    cyrus       = Cyrus IMAP server
    dovecot     = Dovecot Secure IMAP server
    exchange    = Microsoft Exchange IMAP server
    hmailserver = hMailServer
    macosx      = Mac OS X Mailserver
    mercury32   = Mercury/32
    uw          = University of Washington's IMAP server

    quit        = Do not change anything
Command >> - dovecot


SquirrelMail Configuration : Read: config.php
---------------------------------------------------------
While we have been building SquirrelMail, we have discovered some
preferences that work better with some servers that don't work so
well with others.  If you select your IMAP server, this option will
set some pre-defined settings for that server.

Please note that you will still need to go through and make sure
everything is correct.  This does not change everything.  There are
only a few settings that this will change.

Please select your IMAP server:
    bincimap    = Binc IMAP server
    courier     = Courier IMAP server
    cyrus       = Cyrus IMAP server
    dovecot     = Dovecot Secure IMAP server
    exchange    = Microsoft Exchange IMAP server
    hmailserver = hMailServer
    macosx      = Mac OS X Mailserver
    mercury32   = Mercury/32
    uw          = University of Washington's IMAP server

    quit        = Do not change anything
Command >> dovecot

              imap_server_type = dovecot
         default_folder_prefix =
                  trash_folder = Trash
                   sent_folder = Sent
                  draft_folder = Drafts
            show_prefix_option = false
          default_sub_of_inbox = false
show_contain_subfolders_option = false
            optional_delimiter = detect
                 delete_folder = false

Press any key to continue... - press a key


SquirrelMail Configuration : Read: config.php (1.4.0)
---------------------------------------------------------
Main Menu --
1.  Organization Preferences
2.  Server Settings
3.  Folder Defaults
4.  General Options
5.  Themes
6.  Address Books
7.  Message of the Day (MOTD)
8.  Plugins
9.  Database
10. Languages

D.  Set pre-defined settings for specific IMAP servers

C   Turn color off
S   Save data
Q   Quit

Command >> - S


SquirrelMail Configuration : Read: config.php (1.4.0)
---------------------------------------------------------
Main Menu --
1.  Organization Preferences
2.  Server Settings
3.  Folder Defaults
4.  General Options
5.  Themes
6.  Address Books
7.  Message of the Day (MOTD)
8.  Plugins
9.  Database
10. Languages

D.  Set pre-defined settings for specific IMAP servers

C   Turn color off
S   Save data
Q   Quit

Command >> - Q
Последнее, что нам нужно сделать, это внести изменения в файл /etc/squirrelmail/config_local.php и за комментировать $default_folder_prefix переменной - если Вы не сделаете этого, вы увидите следующее сообщение об ошибке в SquirrelMail после того как Вы войдете в систему : CREATE "Sent" Reason Given: Invalid mailbox name.
|
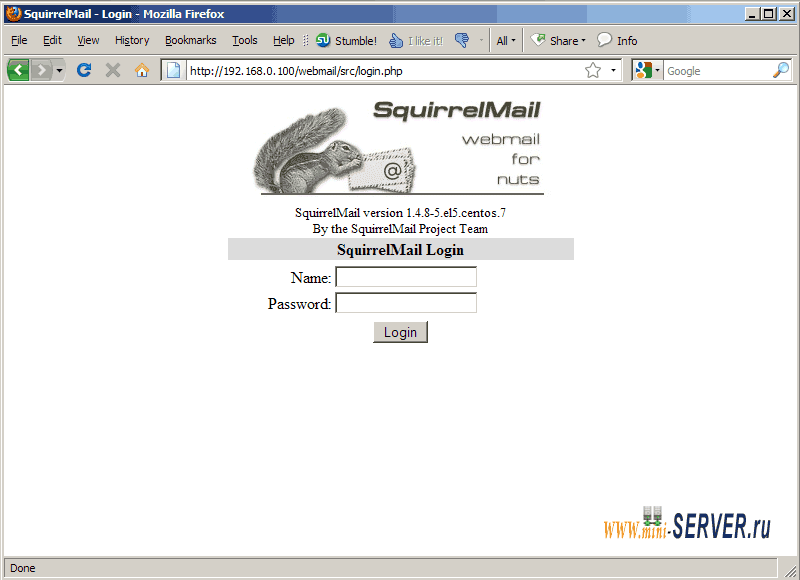
Теперь вы можете ввести в http://server1.example.com/webmail или http://192.168.1.101/webmail в вашем браузере для доступа к SquirrelMail.

Установка ISPConfig 3
Чтобы установить ISPConfig 3 из последней выпущенной версии, сделайте следующее:
|
(Заменить ISPConfig-3.0.2.1.tar.gz с последней версии.)
Следующим шагом является запуск:
|
Это приведет к запуску установки ISPConfig 3:
[root@server1 install]# php -q install.php


--------------------------------------------------------------------------------
 _____ ___________   _____              __ _
|_   _/  ___| ___ \ /  __ \            / _(_)
  | | \ `--.| |_/ / | /  \/ ___  _ __ | |_ _  __ _
  | |  `--. \  __/  | |    / _ \| '_ \|  _| |/ _` |
 _| |_/\__/ / |     | \__/\ (_) | | | | | | | (_| |
 \___/\____/\_|      \____/\___/|_| |_|_| |_|\__, |
                                              __/ |
                                             |___/
--------------------------------------------------------------------------------


>> Initial configuration

Operating System: Redhat or compatible, unknown version.

    Following will be a few questions for primary configuration so be careful.
    Default values are in [brackets] and can be accepted with .
    Tap in "quit" (without the quotes) to stop the installer.


Select language (en,de) [en]: - ENTER

Installation mode (standard,expert) [standard]: - ENTER

Full qualified hostname (FQDN) of the server, eg server1.domain.tld  [server1.example.com]: - ENTER

MySQL server hostname [localhost]: - ENTER

MySQL root username [root]: - ENTER

MySQL root password []: - Ваш SQL пароль

MySQL database to create [dbispconfig]: - ENTER

MySQL charset [utf8]: - ENTER

Generating a 2048 bit RSA private key
......+++
.................+++
writing new private key to 'smtpd.key'
-----
You are about to be asked to enter information that will be incorporated
into your certificate request.
What you are about to enter is what is called a Distinguished Name or a DN.
There are quite a few fields but you can leave some blank
For some fields there will be a default value,
If you enter '.', the field will be left blank.
-----
Country Name (2 letter code) [GB]: - ENTER
State or Province Name (full name) [Berkshire]: - ENTER
Locality Name (eg, city) [Newbury]: - ENTER
Organization Name (eg, company) [My Company Ltd]: - ENTER
Organizational Unit Name (eg, section) []: - ENTER
Common Name (eg, your name or your server's hostname) []: - ENTER
Email Address []: - ENTER
Configuring Jailkit
Configuring SASL
Configuring PAM
Configuring Dovecot
Configuring Spamassassin
Configuring Amavisd
Configuring Getmail
Configuring Pureftpd
Configuring BIND
Configuring Apache
Configuring vlogger
Configuring Apps vhost
Configuring Firewall
Installing ISPConfig
ISPConfig Port [8080]: - ENTER

Configuring DBServer
Installing Crontab
no crontab for root
no crontab for getmail
Restarting services ...
Stopping MySQL:                                            [  OK  ]
Starting MySQL:                                            [  OK  ]
Shutting down postfix:                                     [  OK  ]
Starting postfix:                                          [  OK  ]
Stopping saslauthd:                                        [FAILED]
Starting saslauthd:                                        [  OK  ]
Shutting down Mail Virus Scanner (amavisd):                [FAILED]
Starting Mail Virus Scanner (amavisd):                     [  OK  ]
Stopping Dovecot Imap:                                     [  OK  ]
If you have trouble with authentication failures,
enable auth_debug setting. See http://wiki.dovecot.org/WhyDoesItNotWork
This message goes away after the first successful login.
Starting Dovecot Imap:                                     [  OK  ]
Stopping httpd:                                            [  OK  ]
[Tue May 25 18:15:57 2010] [warn] NameVirtualHost *:80 has no VirtualHosts
Starting httpd:                                            [  OK  ]
Stopping pure-ftpd:                                        [  OK  ]
Starting pure-ftpd:                                        [  OK  ]
Installation completed.
[root@server1 install]#
Программа установки автоматически настроит все основные услуги, так что никакой ручной настройки не требуется.
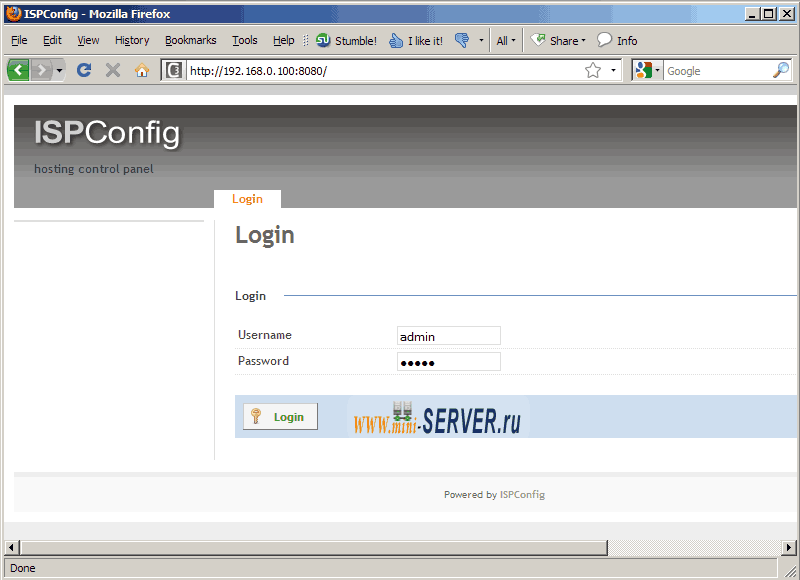
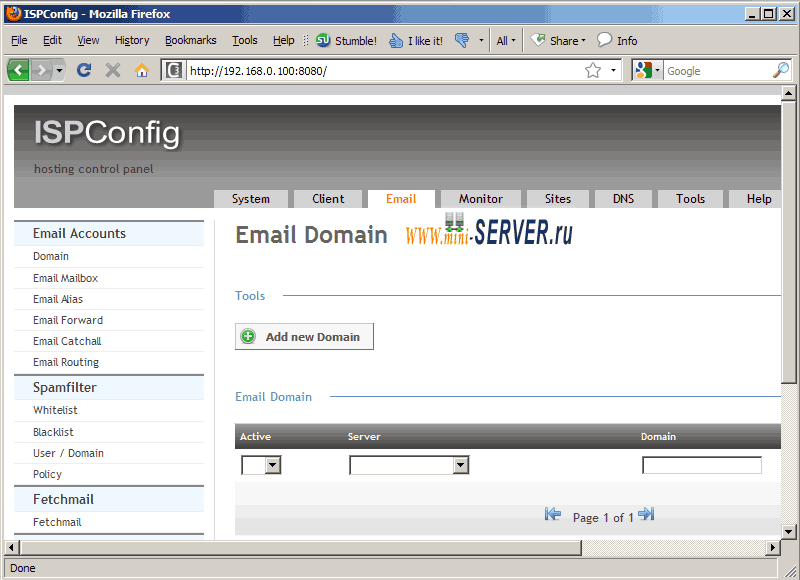
После этого Вы можете получить доступ к ISPConfig 3 под http://server1.example.com:8080/ или http://192.168.1.101:8080/ Войти с именем пользователя admin и пароль admin (вы должны изменить пароль по умолчанию после первого входа):


Система готова к использованию.
- << Назад
- Вперёд


